Caulking cabinets for painting is essential to achieve a professional and smooth finish.
This process not only ensures a neat appearance but also prevents paint from cracking or peeling.
In this blog post, we’ll delve into the importance of caulking cabinets before painting, and discuss when to caulk and when not to caulk your cabinets.
Importance of Caulking Cabinets Before Painting
Caulking cabinets for painting is a vital step that should never be overlooked. It offers several benefits that contribute to a polished and professional result.
Achieving a Smooth Surface for Painting
Caulking helps in creating a smooth surface by filling any gaps, cracks, or seams in the cabinets. This ensures that the paint adheres evenly and results in a flawless finish.
Filling Gaps for a Neat Appearance
When caulking cabinets for painting, you’ll be filling gaps between the cabinet components, resulting in a seamless, clean appearance. This step is especially crucial if you’re working with older cabinets that may have developed gaps over time.
Preventing Paint from Cracking or Peeling
Caulking prevents paint from seeping into the gaps and cracks, which could cause the paint to crack or peel over time. Properly caulking your cabinets will ensure that the paint job lasts longer and looks better.
When to Caulk and When Not to Caulk Cabinets
Knowing when to caulk your cabinets and when to avoid it is crucial for the best results. Here, we’ll discuss the appropriate situations for caulking cabinets and the situations where you should avoid caulking.
Appropriate Situations for Caulking Cabinets
Caulking is necessary for certain areas of your cabinets to ensure a professional finish. Here are some situations where caulking is recommended:
Cabinet Seams and Joints
Caulk all seams and joints in the cabinet structure. This includes areas where the cabinets meet the walls, as well as seams between individual cabinets.
Large Gaps between Cabinets
If there are large gaps between cabinets or between cabinets and walls, caulking is necessary to create a seamless appearance and prevent paint from cracking or peeling.
Situations to Avoid Caulking
While caulking is essential in many situations, there are instances where it should be avoided to ensure the proper functioning of your cabinets. Here are some situations where you should not caulk:
Floating Panels
Floating panels are designed to expand and contract with changes in humidity. Avoid caulking these areas, as it may cause the panel to warp or crack.
Certain Areas of Cabinet Doors
Refrain from caulking the gaps between the door panels and the door frames. Caulking these areas can interfere with the proper functioning of the doors, making them difficult to open and close.
Potential Problems Caused by Caulking Cabinets
Caulking cabinets for painting is essential, but it can also lead to potential problems if not done correctly. Understanding these issues will help you avoid common mistakes and achieve the desired results.
Issues with Paint Adherence
Improper caulking can result in paint adherence issues. If the caulk is not adequately applied or dried, the paint may not stick well, leading to an uneven and unprofessional finish.
Cracking or Wrinkling of Caulk Due to Wood Movement
Wood expands and contracts due to changes in temperature and humidity. If you caulk areas that should not be caulked, the caulk might crack or wrinkle as the wood moves. This can lead to an unsightly appearance and even damage the paint job.
Tips for Caulking Cabinets Before Painting
To ensure a smooth and professional paint job, consider these tips for caulking cabinets before painting:
Choosing the Right Caulk Color
Select a caulk color that matches or complements the color of your cabinets. This will help hide any imperfections and create a seamless look. If you’re unsure of which color to choose, consider using a paintable caulk that can be painted over to match your cabinets.
Maintaining Consistent Caulk Lines
When applying caulk, be sure to maintain consistent caulk lines for a neat and professional appearance. Use a caulking gun with a smooth, even pressure and a steady hand to ensure the caulk lines are uniform.
Avoiding Common Caulking Mistakes
To avoid common caulking mistakes, follow these tips:
- Clean surfaces: Make sure the surfaces you’re caulking are clean and free of dust, dirt, and grease. This will help the caulk adhere better and create a smoother finish.
- Use the right amount of caulk: Avoid using too much or too little caulk, as this can lead to paint adherence issues or gaps in the finished product.
- Allow for proper drying time: Give the caulk enough time to dry before painting. This will help prevent paint from peeling or cracking due to undried caulk.
Choosing the Right Materials and Techniques for Caulking Cabinets
Selecting the proper materials and techniques for caulking cabinets is crucial for a seamless and professional paint job. In this section, we will discuss the best caulk options, application tips, and recommended products to help you achieve the perfect finish.
Identifying the Best Caulk for Cabinets
When it comes to caulking cabinets, not all types of caulk are created equal. Choosing the right one is essential for optimal results.
Paintable Caulk Options
Paintable caulk is ideal for cabinet painting projects, as it allows you to paint over the caulk, creating a uniform appearance. Look for a high-quality paintable caulk that offers excellent adhesion, flexibility, and long-lasting performance.
Acrylic Caulk with Minimal Silicone
For cabinets, opt for an acrylic caulk with minimal silicone content. This type of caulk is easy to work with, paintable, and provides sufficient flexibility for wood movement. Avoid using 100% silicone caulk, as it is typically not paintable.
Properly Applying Caulk for Cabinets
Applying caulk neatly and consistently is crucial for a professional finish. Here are some application techniques to help you achieve the best results:
Neat Application Techniques
Use a caulking gun for precise application and control. Cut the tip of the caulk tube at a 45-degree angle to ensure a smooth bead of caulk. Apply steady pressure as you move the gun along the seams and joints, maintaining a consistent bead of caulk.
Wiping Away Excess Caulk
After applying the caulk, use a damp cloth or your finger to smooth out and remove any excess caulk. This will help create a clean, professional appearance and ensure proper adhesion of the paint.
Recommended Products
Having the right products can make all the difference in the success of your caulking project. Here are some top choices for caulk, caulking guns, and essential tools:
Top Caulk Brands
Some popular caulk brands for cabinet projects include DAP, GE, and Sashco. These brands offer high-quality, paintable caulk options that are suitable for cabinet painting.
Best Caulking Guns
Look for a caulking gun with features such as a smooth trigger, dripless design, and a built-in cutter for opening caulk tubes. Some top caulking gun brands include Newborn, Tajima, and Albion.
Essential Tools for Caulking
In addition to a caulking gun, consider investing in tools like a caulk smoothing tool or a caulk remover. These tools can help you achieve a cleaner, more professional finish.
How to Caulk Cabinets Before Painting
Achieving a smooth and professional finish when painting cabinets starts with proper caulking. Follow these steps to ensure your cabinets are expertly caulked and ready for painting:
Step 1: Preparing the Cabinets
Remove any hardware, such as handles and knobs, from the cabinets. If possible, take off the cabinet doors to make the caulking process easier.
Step 2: Cleaning and Sanding Surfaces
Clean the surfaces of the cabinets with a mild soap and water solution to remove dirt, grease, and grime. Then, lightly sand the surfaces to ensure proper adhesion of the caulk and paint.
Step 3: Masking Adjacent Areas
Use painter’s tape to mask off any areas adjacent to the cabinets, such as walls, countertops, and appliances, to protect them from caulk and paint.
Step 4: Applying the Caulk
Choose a high-quality, paintable caulk suitable for cabinets. Cut the tip of the caulk tube at a 45-degree angle and load it into a caulking gun.
Step 5: Cutting the Caulk Tube Tip
Cut the tip of the caulk tube at a 45-degree angle to ensure a smooth bead of caulk. Make sure the hole is the appropriate size for the gaps you need to fill.
Step 6: Using a Caulking Gun
Apply steady pressure on the caulking gun trigger, and move the gun along the seams and joints, creating a consistent bead of caulk.
Step 7: Smoothing the Caulk Line
After applying the caulk, use a damp cloth or your finger to smooth out and remove any excess caulk. This will create a clean, professional appearance and ensure proper adhesion of the paint.
Step 8: Painting the Cabinets after Caulking
Allow the caulk to dry according to the manufacturer’s instructions. Once dry, you can begin painting your cabinets.
Step 9: Priming the Cabinets
Before applying paint, prime the cabinets with a high-quality primer designed for cabinets. This will help create a smooth surface for the paint and ensure better adhesion.
Step 10: Applying the Paint
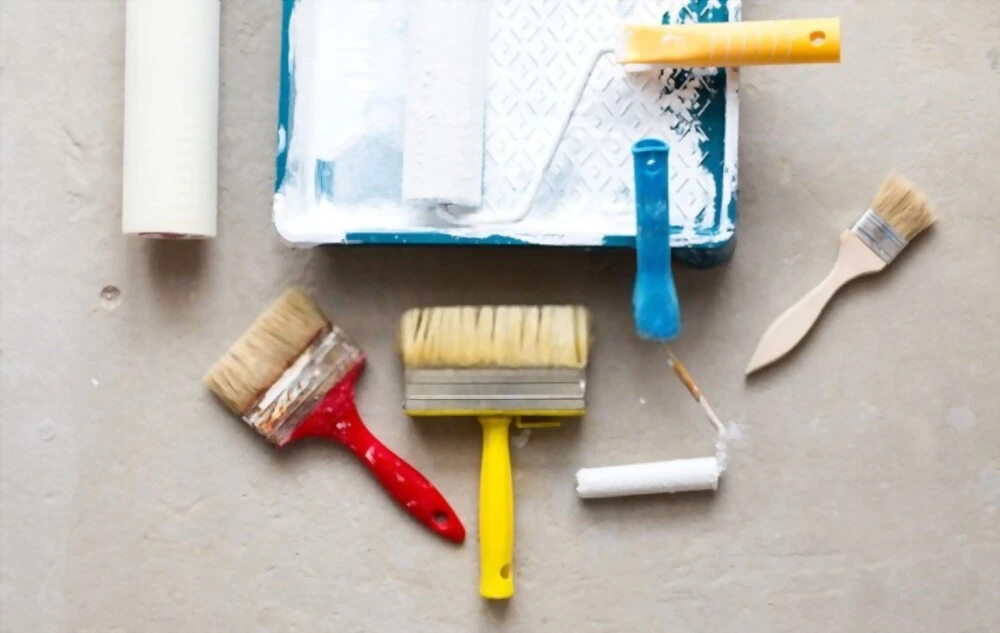
To achieve optimal results, it’s crucial to follow the paint manufacturer’s instructions when applying multiple thin coats of paint using either a brush, roller, or paint sprayer, depending on your preference, and allowing each coat to dry thoroughly before adding the next layer.
Conclusion
Caulking cabinets before painting is a crucial step for achieving a professional and smooth finish. By following these step-by-step instructions, even beginners can tackle their cabinet painting project with confidence and achieve a flawless result. Remember to choose the right materials, properly prepare the surfaces, and take your time during the caulking and painting process for the best outcome.


