To fix a bad paint job on cabinets, assess the damage, sand and repair any imperfections, clean the cabinets, prime them properly, and apply paint evenly.
We all know the feeling: you’ve tried your hand at a DIY project, only to discover that your cabinet painting job turned out to be a disaster.
Don’t fret!
Here’s a comprehensive guide on how to fix a bad paint job on cabinets, based on my own experiences and the advice of others.
Assessing the Damage
Inspect the Cabinets
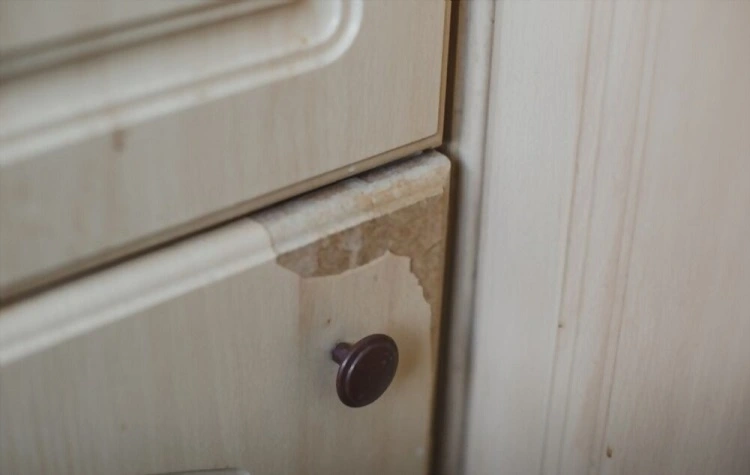
The first step in fixing a bad paint job is to inspect the cabinets and identify the specific issues. Look for drips, uneven paint coverage, visible brush strokes, or other imperfections that may require attention.
Identify the Areas to Fix
After you’ve inspected the cabinets, determine which areas need fixing. You may only need to touch up a few spots, or you might have to refinish the entire cabinet.
Determine if the Entire Cabinet Needs to be Refinished
If the damage is extensive, it may be more efficient to refinish the entire cabinet rather than trying to fix individual problem areas. This will ensure a consistent finish and save time in the long run.
How to Fix a Bad Cabinet Paint Job
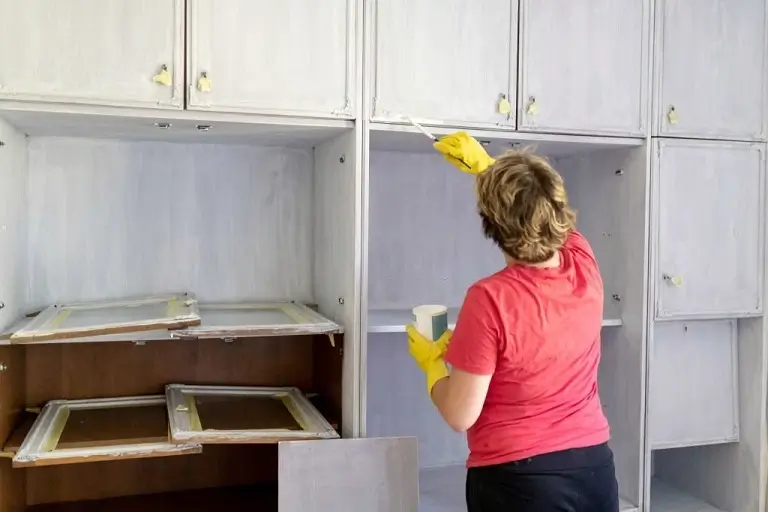
When I first attempted to paint my cabinets, I ended up with a DIY disaster. There were imperfections everywhere – scratches, gouges, and an uneven finish. Thankfully, I learned how to fix my mistakes and now have a beautifully painted cabinet. Here’s how I did it:
- Surface Preparation: First, I had to remove any grime, grease, or wax buildup on the cabinets. I used a paint prep degreaser and a non-scratch rag to thoroughly clean the surfaces.
- Sanding Cabinets: Next, I sanded down the cabinets to remove the previous paint job, focusing on any imperfections such as scratches and gouges. I found that using a fine-grit sandpaper was best for this task.
- Water-Based Wood Filler: For any deep scratches or gouges, I applied a water-based wood filler. This helped to smooth out the surface and ensure a more even finish.
- Cleaning Cabinets Again: Once the wood filler dried, I cleaned the cabinets again with the paint prep degreaser to remove any residual dust or debris.
- Priming Process: Now that the cabinets were prepped, I began the priming process. I chose a water-based primer, as it was best suited for my cabinet’s surface. I applied the primer evenly using a combination of paint brushes, rollers, and sprayers.
- Painting: After allowing the primer to dry according to the manufacturer’s recommendations, I painted the cabinets using high-quality paint products. I made sure not to overload the roller with paint and applied multiple coats for optimal coverage.
- Touch-up Spots: Finally, I inspected the cabinets for any spots that needed touch-ups. If needed, I sanded down the touch-up spots and repainted them.
Throughout my years of painting experience, I’ve come to understand the significance of meticulously following each step and allowing for proper drying time. While DIY enthusiasts may find satisfaction in tackling projects independently, hiring a professional painter like myself can save clients valuable time and effort.
In future projects, it’s essential to research various surface types and consult with seasoned interior painting professionals who boast a proven track record. As a pro painter, I always recommend clients to check online reviews and portfolios before committing to a contract, ensuring their satisfaction and a top-notch cabinet paint job.
When I completed painting my own cabinets, they had a flawless, professional finish that reflected my years of experience in the industry. I was proud of my efforts, and the experience taught me valuable skills and knowledge.
If you find yourself in a similar situation, don’t despair. Follow these steps, and you’ll be able to salvage your cabinet paint job and achieve a stunning result.
Alternative Solutions for Fixing Bad Paint Jobs on Cabinets
A. Cabinet Refacing
Consider cabinet refacing, which involves replacing the cabinet doors and drawer fronts, as an alternative solution. This can be more cost-effective and result in a smoother finish.
B. Cabinet Replacement
If the cabinets are beyond repair or you’re looking for a more drastic change, consider replacing them entirely
C. Professional Cabinet Refinishing Services
Hiring reputable interior painting contractors with a proven track record can save you time and effort. Check online reviews, portfolios, and ask for a contract that guarantees satisfaction before hiring a professional to refinish your cabinets.
Common Mistakes to Avoid When Refinishing Cabinets
A. Rushing the Process
Take your time when refinishing cabinets to ensure a good cabinet paint job. Rushing drying time or skipping steps can lead to poor results.
B. Using Cheap Paint and Materials
Invest in high-quality paint products and materials for a professional-looking result. Cheap paint and materials can lead to poor adhesion, uneven coverage, and a shorter lifespan for your paint job.
C. Failing to Prep the Cabinets Properly
Surface preparation is crucial for a successful paint job. Clean the cabinets thoroughly, repair any damages, and sand them before priming to ensure a smooth, even finish.
D. Overloading the Roller with Paint
Applying too much paint at once can lead to drips, uneven coverage, and other issues. Use the right amount of paint on your roller or brush and apply it evenly to the cabinets.
E. Cutting Corners or Skipping Steps
Follow all the necessary steps, including sanding, priming, and applying multiple coats of paint, to ensure a long-lasting, professional-looking result.
Conclusion
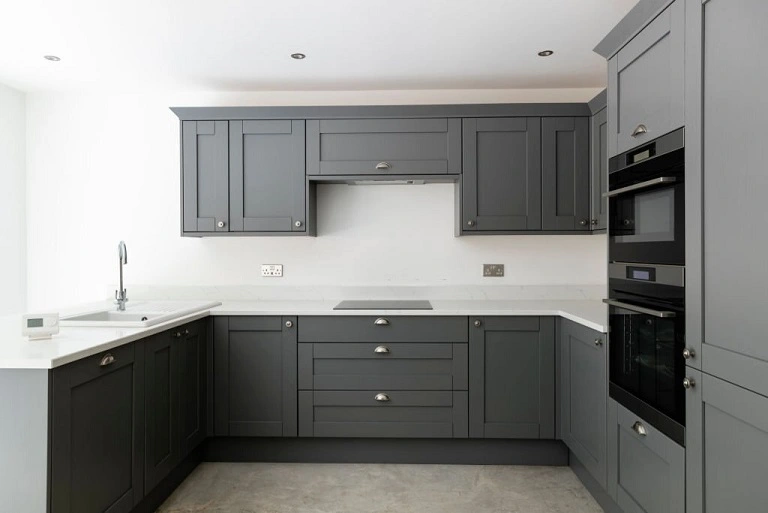
Fixing a bad paint job on cabinets can be a time-consuming and frustrating process, but with patience, the right tools, and proper techniques, you can achieve a professional-looking result. Assess the damage, choose the best approach for your situation, and avoid common mistakes to ensure a successful cabinet refinishing project.
If you’re unsure about your skills or lack the necessary knowledge, consider hiring professional painting contractors to help you achieve the desired outcome for your cabinets.


