To remove brush strokes from painted cabinets, choose the right tools and materials, prepare the cabinet surfaces, master the painting technique, maintain a wet edge, use paint conditioners, address wet paint brush strokes, fix dried paint brush strokes, and apply a protective finish.
Are you are tired of staring at your kitchen cabinets, wishing for a smoother, more professional finish without those pesky brush strokes ruining the appearance? If so, you’ve come to the right place!
In this comprehensive guide for beginner, we’ll walk you through the expert tips and techniques that pro painters use to achieve a flawless, brush stroke-free finish on painted cabinets. Not only will we show you how to remove existing brush strokes, but we’ll also share the secrets to preventing them from appearing in the first place.
So, grab your paintbrush and get ready to embark on a journey that will transform your kitchen cabinets into the envy of your friends and family. Say goodbye to unsightly brush strokes and hello to a stunning masterpiece you’ll be proud to show off!
- Best Way To Paint Cabinets Without Brush Strokes
- Tip 1: Choose the Right Tools and Materials
- Tip 2: Prepare the Cabinet Surface
- Tip 3: Master the Painting Technique
- Tip 4: Maintain a Wet Edge
- Tip 5: Utilize Paint Conditioners
- Tip 6: Address Wet Paint Brush Strokes
- Tip 7: Fix Dried Paint Brush Strokes
- Tip 8: Apply a Protective Finish
- Conclusion
Best Way To Paint Cabinets Without Brush Strokes
To paint your cabinets with a flawless finish and no brush strokes, follow these essential steps:
- Clean the cabinets thoroughly: Remove any grease, dirt, or debris by wiping down the cabinets using a mix of warm water and gentle dish soap. After cleaning, rinse with clean water and let them dry completely.
- Disassemble hardware and doors: Detach all handles, pulls, and hinges from the cabinets and doors. Keep them in a secure place. If feasible, take off the cabinet doors and drawers to simplify the painting process.
- Sand the surfaces gently: Using fine-grit sandpaper (180-220 grit), sand all surfaces that need painting. This ensures better paint adhesion and a smoother end result. After sanding, use a tack cloth to eliminate any residual dust.
- Apply a coat of primer: Select a top-quality primer suitable for your cabinet material. Use a foam roller or paint sprayer to apply the primer, avoiding brush marks. Allow the primer to dry as per the manufacturer’s recommendations.
- Pick the appropriate paint: Opt for a premium-quality, self-leveling paint specifically formulated for cabinets. Waterborne alkyd or acrylic enamel paints offer a durable and smooth finish.
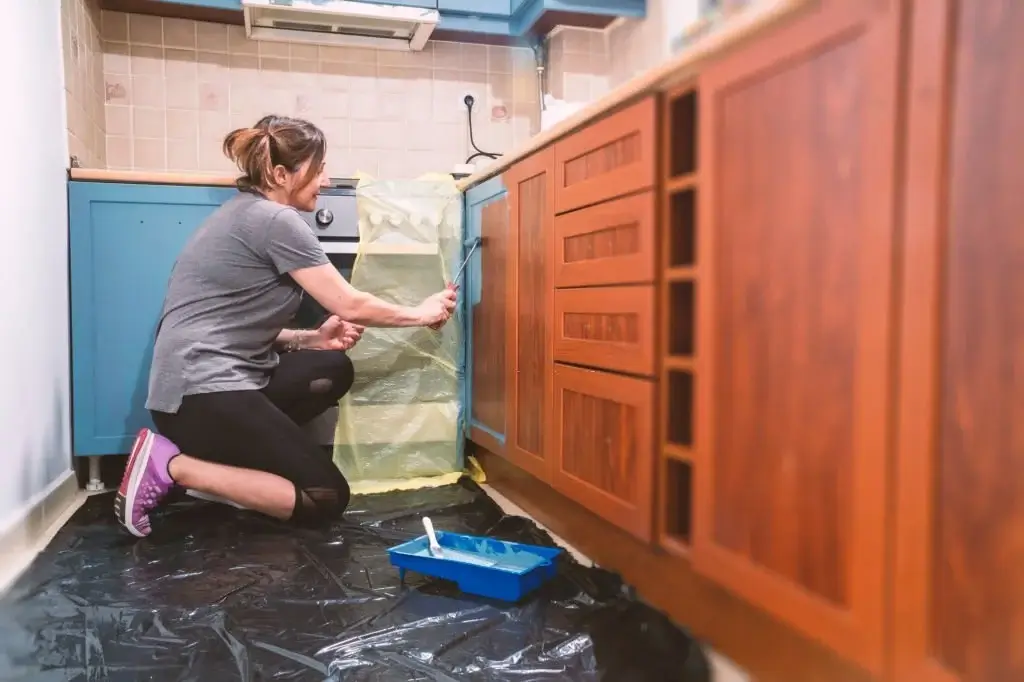
- Utilize the correct tools: Foam rollers or paint sprayers are ideal for achieving a smooth finish without brush strokes. Foam rollers work well on flat surfaces, while paint sprayers provide even coverage on larger areas.
- Apply paint in thin, consistent layers: Whether you’re using a foam roller or paint sprayer, make sure to apply the paint in thin, uniform coats. Allow each layer to dry as per the manufacturer’s guidelines before applying the next one. Typically, two to three coats are necessary for a smooth and long-lasting finish.
- Sand gently between coats: Once each coat dries, sand the surface lightly with fine-grit sandpaper (220-320 grit) to remove any imperfections and ensure a consistent finish. Use a tack cloth to wipe away any dust.
- Put the cabinets back together: After the final paint layer has dried, reattach the hardware and reassemble the cabinets.
- Allow the paint to set: Provide enough time for the paint to set before using the cabinets. This may take a few days or even weeks, depending on the paint type. Consult the paint manufacturer’s guidelines for specific setting times.
By adhering to these guidelines, you’ll be able to achieve a professional, smooth finish on your cabinets without any brush strokes.
You can also follow these helpful tips to remove brush strokes from painted cabinets.
Tip 1: Choose the Right Tools and Materials
When it comes to achieving a flawless finish on your kitchen cabinets, the importance of selecting the right tools and materials cannot be overstated. In fact, using the appropriate tools can make all the difference between a professional-looking result and a frustrating mess. So, let’s dive into the key elements you need to consider:
High-Quality Brushes
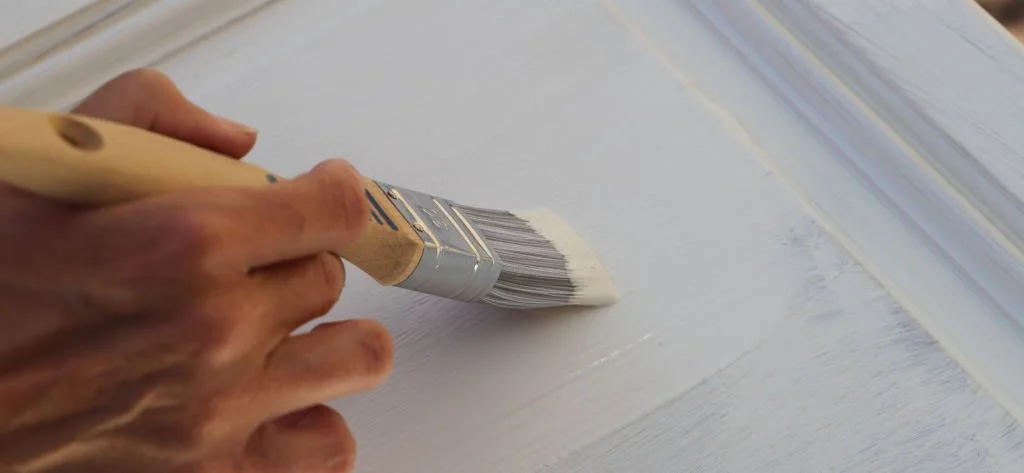
Selecting the right brush is essential. Synthetic bristle brushes work best with water-based paints, while natural bristle brushes are ideal for oil-based paints. Investing in a high-quality brush ensures a smoother application and fewer brush strokes.
Foam Rollers
If you prefer using rollers, opt for foam rollers. These provide a smooth application without leaving brush marks behind. Choose a size that’s appropriate for your cabinet surfaces, ensuring even coverage and easy maneuverability.
Paint Selection
The type of paint you choose also plays a critical role in achieving a smooth finish. Look for self-leveling paints and high-quality, cabinet-specific paints. These options are specially formulated to level out and minimize brush strokes, giving you the professional finish you desire.
Additional Tools
A few more tools can help you further refine your painting project:
- Paint conditioner: This additive improves the flow of your paint, making it easier to apply and reducing brush strokes.
- Sandpaper: A must-have for surface preparation, sandpaper helps you create a smooth, even canvas for your paint.
Tip 2: Prepare the Cabinet Surface
Proper preparation of your kitchen cabinet surfaces is crucial for a successful painting job. Skipping or rushing through this step can lead to a subpar result. Follow these essential steps to create an ideal surface for painting:
Cleaning and Degreasing
Before you begin, ensure the cabinet surfaces are clean and free from grease. Use a trisodium phosphate (TSP) solution or a degreasing cleaner to remove any dirt or grease buildup. Wipe down all surfaces thoroughly with a clean, damp cloth, and allow them to dry completely.
Sanding
Next, it’s time to sand the surfaces. Use 120-150 grit sandpaper to create a smooth surface, removing any old paint, imperfections, or rough spots. This step is crucial in ensuring proper paint adhesion and a smooth finish. After sanding, wipe the surfaces with a tack cloth to remove any residual dust.
Priming
A good primer creates a uniform base for your paint, promoting adhesion and preventing any wood grain or existing color from showing through. Apply the primer with a high-quality brush or foam roller, taking care to cover all surfaces evenly. Allow the primer to dry completely according to the manufacturer’s instructions before moving on to the next step.
Tip 3: Master the Painting Technique
The way you apply paint to your kitchen cabinets is just as important as choosing the right tools and preparing the surfaces. Follow these expert techniques to minimize brush strokes and achieve a smooth, professional finish:
Thin, Even Coats
Apply multiple thin coats of paint instead of one thick coat. This technique not only reduces the likelihood of brush strokes but also ensures better adhesion and a more durable finish. Allow each coat to dry according to the manufacturer’s instructions before adding the next.
Paint in the Direction of the Grain
When painting your cabinets, follow the wood grain. This helps to minimize brush marks and promotes a more natural-looking finish. Use long, consistent strokes to ensure even coverage and a seamless appearance.
Avoid Overloading the Brush
Dip only one-third of the bristles into the paint, then tap off the excess to prevent drips and uneven application. Overloading the brush increases the likelihood of visible brush strokes and can lead to a messy, unprofessional result.
Tip 4: Maintain a Wet Edge
Keeping a wet edge while painting is crucial for a smooth, brush stroke-free finish. Here’s how to do it:
- Work quickly: When painting, make sure to work at a steady pace, applying the paint evenly and consistently. This prevents the paint from drying too quickly and ensures a seamless blend between sections.
- Blend new paint into the wet edge: As you move from one section to the next, slightly overlap the new paint with the wet edge of the previous section. This helps to avoid brush strokes and promotes a continuous, smooth finish.
Tip 5: Utilize Paint Conditioners
Using paint conditioners can significantly improve the flow and leveling of your paint, leading to a smoother, brush stroke-free finish. Here’s how to use them effectively:
- Add paint conditioner: Incorporate the conditioner into your paint, following the manufacturer’s instructions for the correct ratio. The right amount will depend on the specific product and paint type, so be sure to read and follow the guidelines carefully.
- Mix thoroughly: Ensure the conditioner is fully blended into the paint before application. This ensures even coverage and a consistent, smooth finish.
Tip 6: Address Wet Paint Brush Strokes
Despite your best efforts, you might still encounter some brush strokes while painting your cabinets. Here’s how to handle them without causing further issues:
- Level wet paint with a brush or roller: If you notice visible brush strokes in your wet paint, use a clean brush or foam roller to lightly smooth them out. Work quickly and gently to avoid creating new marks or lifting the paint.
- Work in small sections: Tackle one small area at a time, always keeping an eye out for brush strokes. Addressing them while the paint is still wet makes it much easier to achieve a smooth finish without the need for extensive touch-ups later on.
Tip 7: Fix Dried Paint Brush Strokes
If you find brush strokes on your cabinets after the paint has dried, don’t worry—there are ways to fix them and achieve a smooth finish. Here are some methods to consider:
Sanding and Repainting
- Lightly sand the dried paint: Use 220-grit sandpaper to gently remove the brush strokes without damaging the underlying paint. Be sure to sand evenly and consistently, focusing on the affected areas.
- Wipe with a tack cloth: After sanding, remove any residual dust with a tack cloth. This ensures a clean surface for repainting.
- Repaint the cabinets: Apply a new coat of paint, following the tips and techniques outlined earlier in this article. This should help you achieve a smooth, brush stroke-free finish.
Paint Scraping
- Use a paint scraper: For larger or more stubborn brush strokes, a paint scraper can be helpful. Carefully scrape away the brush strokes without damaging the surrounding paint.
- Follow up with sanding and repainting: After scraping, sand the area to smooth it out, wipe it down with a tack cloth, and repaint as needed.
Self-Leveling Paint
- Apply a self-leveling paint: As a last resort, consider using a self-leveling paint over the dried paint. These specialized paints are designed to even out brush strokes and other surface imperfections.
- Follow manufacturer’s instructions: Be sure to read and adhere to the guidelines provided by the paint manufacturer for the best results.
Tip 8: Apply a Protective Finish
Once you’ve achieved a smooth, brush stroke-free finish on your cabinets, it’s essential to protect your hard work with a clear protective finish. This not only preserves the paint but also adds durability and makes cleaning easier. Here’s how to do it:
- Choose a clear protective finish: Opt for a product like polyurethane or another suitable clear coat. These finishes come in various sheens, from matte to high gloss, allowing you to choose the look that best complements your kitchen cabinets.
- Apply with a high-quality brush or foam roller: Use the same techniques you employed when painting the cabinets to ensure a smooth, even application. This final layer will protect your cabinets from daily wear and tear, keeping them looking fresh and beautiful for years to come.
Conclusion
In conclusion, removing brush strokes from painted cabinets and achieving a smooth, professional finish is possible with the right knowledge and techniques. By following our expert tips, you can transform your kitchen cabinets and create a stunning focal point that elevates your kitchen’s appearance. Now that you know how to remove brush strokes from painted cabinets like a pro, it’s time to put your newfound skills to the test and enjoy the beautiful results.


