
The best way to paint cabinet hinges involves cleaning and sanding the hinges, choosing the right paint for metal, and applying thin, even coats of paint using either spray painting or brush painting. Ensure proper drying time between coats and follow tips for even coverage and avoiding drips to achieve a professional and polished finish.
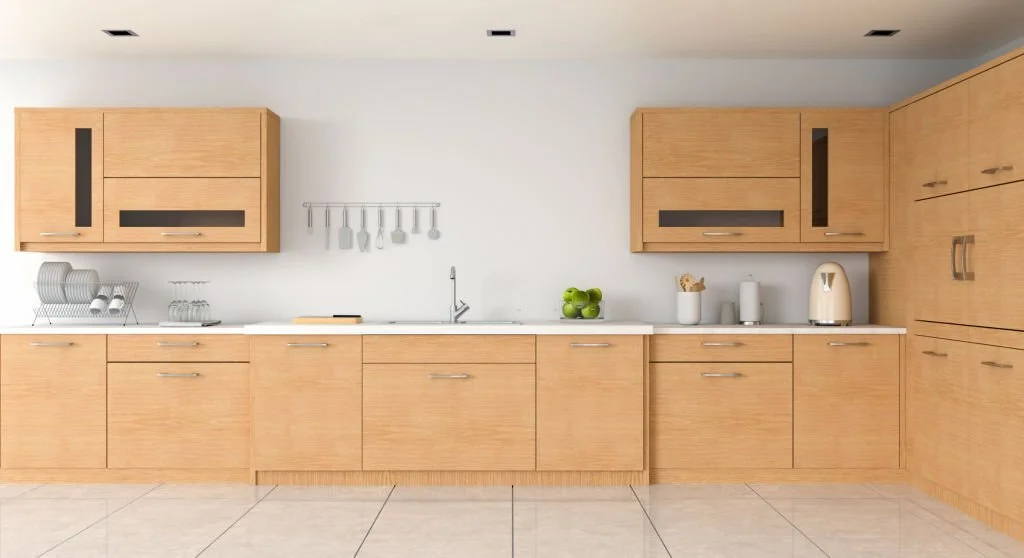
Are you tired of your dated kitchen cabinets but don’t want to break the bank on a full renovation?
Updating your cabinet hinges can give your kitchen a fresh, new look without the hefty price tag.
In this article, we’ll walk you through the best way to paint cabinet hinges, providing a detailed guide for homeowners who are beginners in this DIY project.
So, let’s dive in and give your kitchen a facelift!
- Should I Paint Cabinet Hinges
- Gathering Materials and Tools
- What To Do With Hinges When Painting Cabinets
- Cleaning the Hinges and Screws
- Sanding and Priming
- Choosing the Right Paint
- Setting Up a Painting Workspace
- Best Way to Paint the Hinges and Screws
- Reattaching the Hinges to Cabinets
- Expert Tips and Tricks
- Conclusion
Should I Paint Cabinet Hinges
Deciding whether to paint cabinet hinges depends on your specific situation and preferences. Here are some benefits, pros, and cons to help you make an informed decision:
Benefits of Painting Cabinet Hinges:
- Cost-effective: Painting cabinet hinges is an inexpensive way to update the appearance of your cabinets without replacing them.
- Customization: You can match the hinge color to the cabinets or choose a contrasting color to create a unique look.
- Restoration: Painting old or worn-out hinges can restore their appearance and make them look new again.
Pros:
- Aesthetic appeal: Painting the hinges can help create a cohesive look, enhancing the overall aesthetic of your cabinets.
- Preservation: Applying a new coat of paint can protect hinges from rust, wear, and tear, prolonging their lifespan.
- DIY-friendly: Painting cabinet hinges is a relatively simple DIY project, which can save you money on professional services.
Cons:
- Time-consuming: Removing, cleaning, sanding, priming, and painting hinges can be a time-consuming process, especially if you have many cabinets.
- Possible paint issues: If not done correctly, the paint may not adhere well or may chip, requiring touch-ups or repainting.
- Limited movement: Using the wrong type of paint, such as latex, may affect the hinge’s movement, causing the cabinet doors to open and close poorly.
Gathering Materials and Tools
Before you start, you’ll need to gather the following materials and tools:
- Screwdriver or drill
- Sandpaper (medium-grit)
- Tack cloth
- Metal primer
- Paint suitable for metal (enamel or spray paint)
- Paintbrush (if using enamel paint)
- Newspaper or drop cloth
- Heavy-duty gloves (for using degreasers)
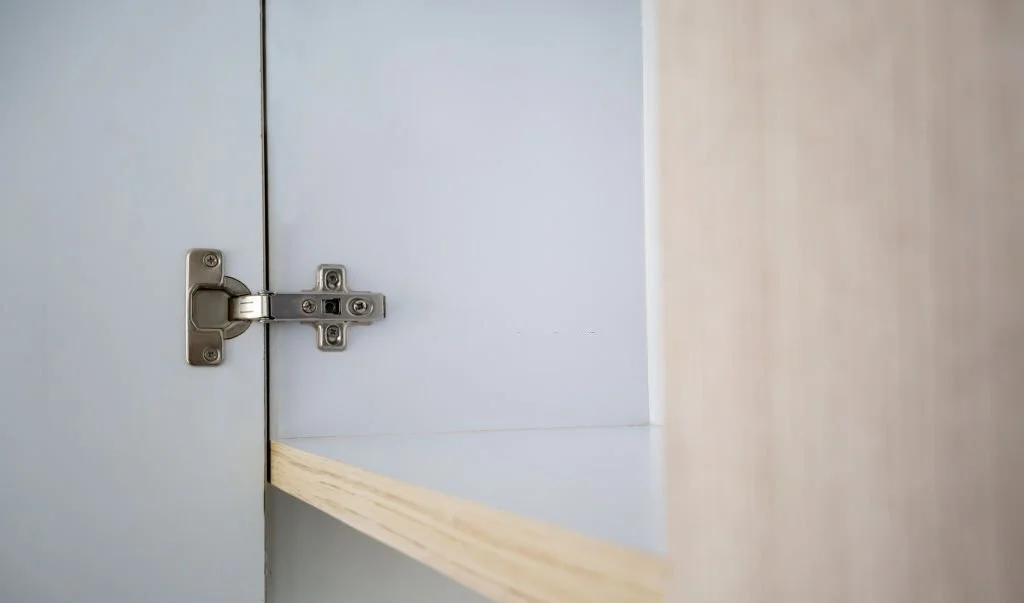
What To Do With Hinges When Painting Cabinets
First, carefully remove the hinges from your cabinet doors using a screwdriver or drill. Keep the screws organized by placing them in a small container or sandwich bag.

Cleaning the Hinges and Screws
Thoroughly cleaning the hinges and screws is crucial for achieving a professional finish. Use a degreaser, like Simple Green or Krud Kutter, to remove grease and dirt. Soak the hinges and screws in a solution of hot water and degreaser for at least an hour. Then, scrub them with a toothbrush and rinse thoroughly. Lay them out on a clean, dry towel to dry.

Sanding and Priming
Sanding the Hinges
To ensure a smooth and even paint job, sand the hinges using medium-grit sandpaper. This step helps remove any remaining grime, old paint, and rough surfaces. After sanding, use a tack cloth to wipe away any sanding dust.
Applying Metal Primer
Choose a rust-inhibiting metal primer to help the paint adhere properly and prevent future rusting. Apply the primer to the hinges and screws following the manufacturer’s instructions. Allow the primer to dry completely before moving on to the painting step.
Choosing the Right Paint
Select a paint suitable for metal, such as enamel or spray paint. Consider whether you want a metallic finish to mimic the original metal or a color that matches or complements your cabinets. Avoid latex paint, as it can affect the hinge’s movement.
Setting Up a Painting Workspace
Find a well-ventilated area to set up your painting workspace. Cover your work surface with newspaper or a drop cloth to protect it from paint.
Best Way to Paint the Hinges and Screws
Spray Painting vs. Brush Painting
When it comes to painting cabinet hinges and screws, you have two primary options: spray painting or brush painting. Each method has its pros and cons, so consider your preferences and skill level before deciding.
Spray painting offers a smooth and even finish with minimal effort. It’s quicker and easier than using a brush, but it requires a well-ventilated space and proper technique to avoid drips and uneven coverage.
Brush painting gives you more control over the paint application, which is useful for intricate or ornate hinges. However, it takes more time and effort than spray painting and may result in visible brush strokes if not done correctly.
Step-by-Step Painting Process
- Choose your paint method: Decide whether you’ll use spray paint or a brush to paint your hinges and screws. Make sure the paint you choose is suitable for metal.
- Prepare the hinges and screws: Ensure that the hinges and screws are clean, dry, and primed before applying paint.
- Set up your workspace: Work in a well-ventilated area and cover your work surface with newspaper or a drop cloth.
- Apply the first coat of paint: Whether using spray paint or a brush, apply a thin and even coat of paint to the hinges and screws. Be sure to cover all visible surfaces, including the edges and sides.
- Allow the paint to dry: Follow the paint manufacturer’s recommendations for drying time between coats.
- Apply additional coats: Apply at least two coats of paint, allowing each layer to dry completely before applying the next one.
Tips for Even Coverage and Avoiding Drips
- Maintain a consistent distance when spray painting to ensure even coverage.
- Use side-to-side strokes when spray painting to prevent excessive layering in one spot.
- Apply thin, even coats of paint to avoid drips and uneven coverage. It’s better to apply multiple thin coats than one thick coat.
- Practice your technique on a piece of cardboard or scrap material before painting the hinges and screws, especially if you’re new to spray painting.
- Allow ample drying time between coats to prevent the paint from becoming too thick or uneven.
Reattaching the Hinges to Cabinets
Once the paint is dry, carefully reattach the hinges to your cabinets, ensuring they function smoothly.
Expert Tips and Tricks
- Practice your spray painting technique on cardboard before painting the hinges.
- Allow ample drying time between coats of paint and primer.
- Work in a well-ventilated area to
- ensure safety while using paint and primer.
- For a rustic look, leave a hint of the original finish or a touch of rust for added character.
- Use heavy-duty gloves when working with degreasers to protect your hands.
- Be patient and take your time during the painting process to achieve a professional and polished result.
- With these tips and tricks, you’ll be well on your way to transforming your kitchen cabinets. So, gather your materials, put on your DIY hat, and get ready to make a significant impact with a simple update. Your kitchen will thank you for it!
Conclusion
Painting your cabinet hinges is an affordable and effective way to breathe new life into your kitchen. With the right tools, materials, and a little patience, you can achieve a professional finish that will make your kitchen feel brand new. So, roll up your sleeves and give it a try – you won’t be disappointed!