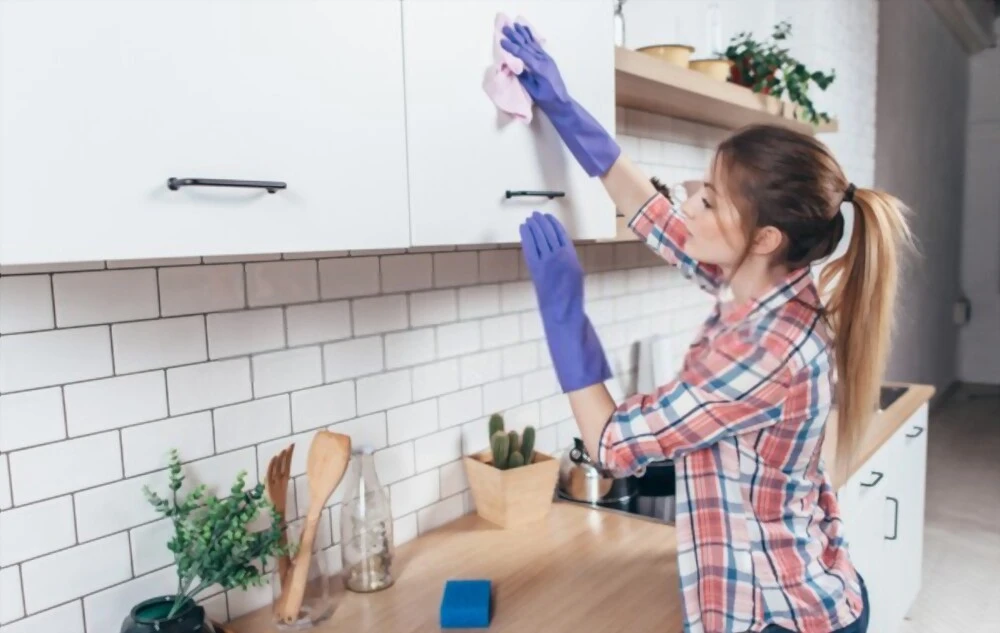

To clean cabinets before painting, use a heavy-duty degreaser like TSP, Krud Kutter, scrub the surfaces with a green Scotch-Brite pad or drill brush attachment, and wipe clean with a damp microfiber cloth, ensuring all grease and grime is removed for a professional-looking and long-lasting paint job.
Did you know that the key to a flawless cabinet paint job lies in the prep work?
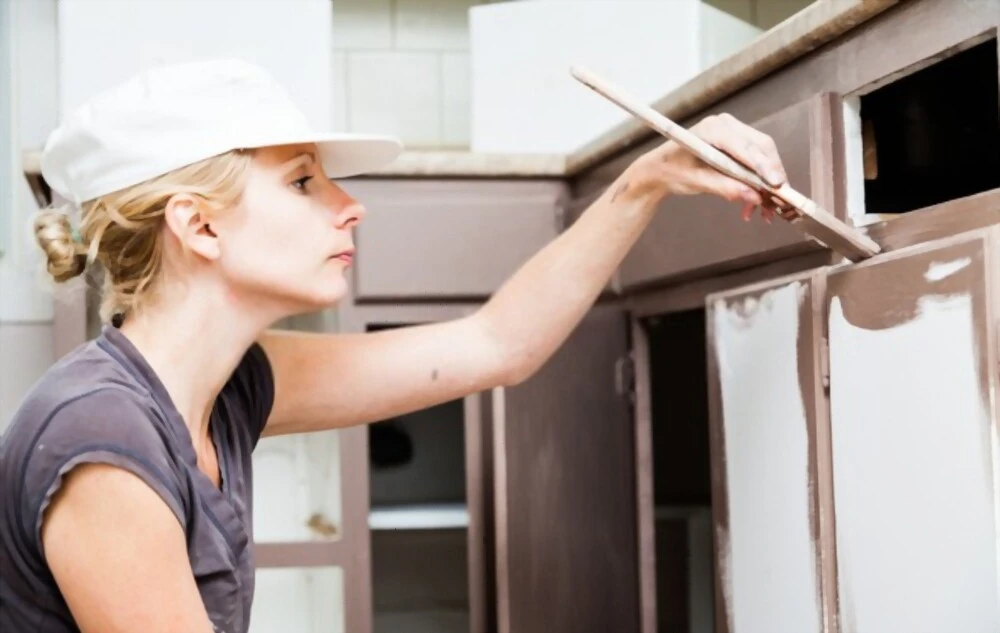
If you’re planning to paint your cabinets, ensuring they’re thoroughly cleaned beforehand can make all the difference in the final result. A clean surface ensures better paint adhesion and a professional-looking finish.
In this guide, we’ll walk you through the essential steps to clean your cabinets effectively before painting, helping you achieve a stunning transformation that lasts.
We’ll cover the importance of cleaning cabinets before painting, the best methods and products for removing grease and grime, tips for maintaining your cabinets’ condition, and common mistakes to avoid during the cleaning process.
- The Importance of Surface Preparation for Painting
- Evaluating the Condition of Your Cabinets
- Cleaning Methods, Materials, and Products
- Best Way to Clean Cabinets Before Painting Effectively
- Safety Precautions During the Cleaning Process
- Common Mistakes to Avoid During the Cleaning Process
- Tips and Tricks to Make the Cleaning Process More Efficient
- Conclusion
The Importance of Surface Preparation for Painting
Before you start painting your cabinets, it’s crucial to understand the importance of proper surface preparation. A thorough cleaning ensures better paint adhesion, which leads to a more durable and long-lasting finish. By removing dirt, grease, and grime, you create a clean and smooth surface for the paint to adhere to, resulting in a professional-looking paint job.
Improved Paint Adhesion
One of the primary reasons to clean cabinets before painting is to promote better paint adhesion. When you remove any dirt, grease, or other contaminants from the surface, the paint can bond more effectively with the cabinet material. This strong bond helps prevent the paint from peeling, chipping, or flaking over time.
A Flawless Finish
Another benefit of cleaning cabinets before painting is that it helps you achieve a flawless finish. A clean and smooth surface ensures that the paint goes on evenly, without any bumps or imperfections. This ultimately leads to a more visually appealing result, making your cabinets look like they were professionally painted.
Prolonged Paint Durability
By cleaning cabinets before painting, you also extend the life of your paint job. A well-prepared surface allows the paint to adhere properly, reducing the likelihood of premature paint failure. This means your freshly painted cabinets will stay looking great for a longer period, saving you time and money on future touch-ups or repainting.
In the next section, we’ll dive into the various cleaning methods, materials, and products that you can use to prepare your cabinets for painting.
Evaluating the Condition of Your Cabinets
As someone who cleans cabinets regularly, I know how crucial it is to start by evaluating the condition of your cabinets. This assessment will help you determine the best cleaning methods and products to use for effective results.
Identifying Dirt, Grease, and Grime
Before diving into the cleaning process, take a moment to closely inspect your cabinets for any dirt, grease, or grime. Look for the following signs:
- Dirt and dust: These can accumulate on cabinet surfaces, especially in corners and crevices. A quick wipe with a damp cloth should remove light dirt and dust.
- Grease: Cooking fumes and splatters can lead to a buildup of grease, particularly on cabinets located close to the stove. Grease may appear as a sticky, oily film on the cabinet surface.
- Grime: Grime refers to the mixture of dirt, grease, and other contaminants that create a stubborn layer on the cabinet surface. You might find grime in high-touch areas, such as handles and knobs, or in areas that haven’t been cleaned for a while.
Evaluating Cabinet Damage
While inspecting your cabinets, also check for any damage, such as scratches, dents, or peeling paint. If you notice any damage, you may need to address these issues during the cleaning process or after painting. Keep in mind that some damages might require additional steps, like sanding or filling, to ensure a smooth and uniform paint job.
Now that you’ve evaluated the condition of your cabinets, you can move on to the next step – understanding the importance of surface preparation for painting. In the following section, we’ll discuss why a thorough cleaning is essential for achieving a professional-looking paint job.
Cleaning Methods, Materials, and Products
To effectively clean your cabinets before painting, it’s essential to choose the right cleaning methods, materials, and products. This will not only help you achieve the best results but also ensure that you don’t damage your cabinets in the process. Here’s a rundown of various cleaning methods, materials, and products you can use:
- Damp cloth and soapy water: For light cleaning, simply using a damp cloth with warm soapy water can be effective. Gently wipe down the cabinet surfaces to remove dust, dirt, and light grime.
- DIY cleaning solutions: For a more thorough cleaning, consider using a DIY cleaning solution made from a mixture of vinegar, dish soap, and water. This can help break down grease and grime without damaging the cabinet surface.
- Best commercial degreasers: If your cabinets have stubborn grease and grime, you may need a commercial degreaser. Look for products specifically designed for cleaning cabinets, such as TSP (trisodium phosphate) or TSP alternatives (Krud Kutter). Be sure to follow the manufacturer’s instructions for proper use.
- Cleaning materials: Equip yourself with the right cleaning materials, including soft cloths, sponges, and brushes or drill brush attachments. Use non-abrasive materials to avoid scratching the cabinet surface, and consider wearing gloves to protect your hands from cleaning agents.
- Scrubbing techniques: When cleaning your cabinets, use gentle pressure and a circular motion to effectively remove dirt and grime. Avoid using too much force, which can damage the surface.
- Rinsing and drying: After cleaning your cabinets, it’s essential to rinse them thoroughly with clean water to remove any residue from the cleaning solution. Then, use a clean, dry cloth to wipe the cabinets dry, ensuring they are completely dry before moving on to sanding and priming.
By selecting the appropriate cleaning methods, materials, and products, you can effectively clean your cabinets before painting and ensure a smooth, long-lasting finish.
Best Way to Clean Cabinets Before Painting Effectively
To achieve the best results when cleaning cabinets before painting, follow these step-by-step instructions:
- Remove hardware and doors: Start by removing all hardware, such as handles and hinges, from the cabinets. If possible, also remove the cabinet doors and drawers. This will make the cleaning process much easier and more thorough.
- Label parts: To ensure easy reassembly, label each door, drawer, and piece of hardware with a corresponding number or letter. You can use masking tape and a marker for this purpose.
- Lay down a drop cloth: Protect your floors and countertops by placing a drop cloth or old sheets beneath the cabinets.
- Evaluate the condition of the cabinets: Assess the level of dirt, grease, and grime on your cabinets. This will help you determine the appropriate cleaning method and solution to use.
- Choose your cleaning solution: Based on your evaluation, choose the cleaning solution that best suits your needs. This could be a damp cloth and soapy water, a degreaser, or a DIY cleaning solution.
- Apply the cleaning solution: Apply the chosen cleaning solution to the cabinet surfaces using a soft cloth, sponge, or non-abrasive brush. Be sure to clean all surfaces, including edges and corners.
- Scrub gently: Use gentle pressure and a circular motion when scrubbing the cabinet surfaces to avoid damaging the wood.
- Rinse: After cleaning, rinse the cabinets thoroughly with clean water to remove any soap or degreaser residue.
- Dry the cabinets: Use a clean, dry cloth to wipe down the cabinets, removing any excess water. Make sure the cabinets are completely dry before moving on to the next step in the painting process.
- Inspect your work: Check the cabinets for any remaining dirt, grease, or grime. If necessary, repeat the cleaning process until the cabinets are entirely clean and ready for painting.
By following these steps, you’ll ensure that your cabinets are clean and ready for a fresh coat of paint. Properly cleaned cabinets will allow the paint to adhere better, resulting in a more durable and attractive finish.
How to Clean Grease Off Kitchen Cabinets Before Painting
One effective method for cleaning stubborn grime or grease off your kitchen cabinets before painting is using a heavy-duty degreaser such as Krud Kutter. Here’s a step-by-step guide on how to tackle stubborn grease and grime using Krud Kutter:
- Gather your materials: You’ll need Krud Kutter, a green Scotch-Brite pad or drill brush attachments with medium or coarse bristles, a bucket or container for mixing, rubber gloves, a microfiber cloth, and a drill or impact driver (if using brush attachments).
- Prepare the cleaning solution: Mix the Krud Kutter with water according to the manufacturer’s instructions.
- Remove hardware and doors: Detach cabinet doors and drawers to make it easier to access all surfaces. Label the parts so you can reassemble them correctly later. Remove any hardware, such as handles or knobs, to prevent damage.
- Apply the cleaning solution: Dip a green Scotch-Brite pad or drill brush attachment into the Krud Kutter solution. If using a drill brush attachment, attach it to a drill or impact driver. Ensure you’re wearing rubber gloves to protect your hands.
- Scrub the cabinets: Scrub the cabinet surfaces, focusing on areas with heavy grease and grime buildup. Use circular motions and light pressure to avoid damaging the wood. The drill brush attachments can make this process faster and more efficient.
- Wipe the cabinets clean: After scrubbing, use a clean, damp microfiber cloth to wipe the cabinet surfaces, removing any residue from the Krud Kutter solution. Make sure to rinse the cloth frequently to avoid spreading grease and grime.
- Inspect the cabinets: Double-check all corners, creases, and crevices to ensure that you’ve removed all the stubborn grime or grease. If necessary, repeat the scrubbing process in any remaining problem areas.
By following this method, you can effectively clean stubborn grime or grease off your kitchen cabinets before painting, ensuring a professional-looking and long-lasting result.
Safety Precautions During the Cleaning Process
When cleaning your cabinets before painting, it’s essential to follow safety precautions to protect yourself and your home. Here are some safety tips to keep in mind during the cleaning process:
- Wear protective gear: Use gloves to protect your hands from harsh cleaning chemicals and potential splinters. If you’re using a commercial degreaser or chemical cleaning solution, consider wearing eye protection to avoid any accidental splashes.
- Ventilation: Make sure to work in a well-ventilated area when using cleaning solutions, especially if they contain strong chemicals. Open windows or doors, and consider using a fan to increase airflow.
- Read labels and follow instructions: Before using any cleaning product, read the label carefully and follow the manufacturer’s instructions for proper use. This will ensure the safe and effective application of the product.
- Store cleaning products safely: Keep all cleaning products out of reach of children and pets, and store them in a secure location when not in use. Make sure the lids are tightly sealed to prevent any accidental spills or exposure.
- Avoid mixing chemicals: Some cleaning chemicals can be hazardous when mixed, so never combine different products unless the label specifically states that it’s safe to do so.
- Use a stable surface: If you need to use a ladder or step stool to reach higher cabinet areas, make sure it’s stable and secure before climbing. Always maintain three points of contact when on a ladder to prevent falls.
- Clean up spills promptly: If you spill any cleaning solution on the floor or other surfaces, clean it up immediately to prevent slips and falls.
By following these safety precautions, you can ensure a safe and efficient cabinet cleaning process, helping you achieve the best results when painting your cabinets.
Common Mistakes to Avoid During the Cleaning Process
To ensure the best results when cleaning cabinets before painting, it’s essential to avoid these common mistakes:
- Skipping the cleaning process: Some people may be tempted to skip the cleaning step and jump straight to sanding or painting. However, a thorough cleaning is crucial for proper paint adhesion and a long-lasting finish.
- Over-sanding: While light sanding may be necessary to smooth the cabinet surfaces before painting, be careful not to overdo it. Excessive sanding can damage the wood and create an uneven surface.
- Using harsh cleaning products: Avoid using abrasive cleaners or scrubbing pads that can scratch the wood surface. Instead, opt for gentle cleaning solutions and non-abrasive tools.
- Not removing hardware: Neglecting to remove cabinet hardware can lead to an incomplete cleaning job and make the painting process more difficult. Always remove handles, hinges, and other hardware before cleaning.
- Not allowing enough drying time: It’s crucial to let your cabinets dry completely before moving on to sanding, priming, or painting. Wet cabinets can cause the paint to bubble or peel over time.
By avoiding these common mistakes, you can ensure a successful cabinet cleaning process and a beautiful, long-lasting paint job.
Tips and Tricks to Make the Cleaning Process More Efficient
To make the cabinet cleaning process as efficient as possible, consider these helpful tips and tricks:
- Work in small sections: Break the cleaning process into smaller sections to make it more manageable. This will also help you focus on each area, ensuring a thorough cleaning job.
- Use a toothbrush for tight spaces: A soft-bristle toothbrush can be handy for cleaning tight corners, crevices, and other hard-to-reach areas on your cabinets.
- Rinse with a spray bottle: Fill a spray bottle with clean water and use it to rinse your cabinets after applying the cleaning solution. This can help prevent water from pooling in unwanted areas.
- Use a microfiber cloth for drying: A microfiber cloth is excellent for drying cabinets, as it is highly absorbent and can help prevent streaks and lint.
- Utilize fans or open windows for faster drying: Increase ventilation by opening windows or using fans to speed up the drying process.
By incorporating these tips and tricks, you’ll be able to clean your cabinets more efficiently and effectively, ensuring they are ready for a fresh coat of paint.
Conclusion
Cleaning cabinets before painting is an essential step in the cabinet painting process. By properly cleaning your cabinets, you can improve paint adhesion, resulting in a beautiful and long-lasting finish. Remember to use the right cleaning methods, materials, and products while avoiding common mistakes. With these tips and tricks in mind, you can effectively clean your cabinets and prepare them for a fresh coat of paint. Not only will this enhance the look of your kitchen or bathroom, but it will also add value to your home. So, take your time, be thorough, and enjoy the satisfying results of a well-done cabinet painting project.