
Professional painters typically take 3-4 days to paint kitchen cabinets, while DIYers should plan for at least a week.
Are you tired of hearing that painting all the kitchen cabinets takes weeks? Or are you worried that you may start painting cabinets but won’t be able to finish them within the deadline?
If yes, we are here to help you. We’ll break it down and provide realistic timelines based on professional expertise.
The length of time it takes to paint kitchen cabinets depends on various factors, including the size of the kitchen, the number of cabinets, the type of paint used, and the experience of the person doing the painting.
In this article, I’ll cover factors that affect painting cabinets, time estimates, and step by step process of painting. Whether you’re a DIYer or a beginner, we’ve got you covered.
So, let’s get right to it.
Factors That Affect How Long It Takes to Paint Kitchen Cabinets
Here are all the factors you need to consider while painting kitchen cabinets:
Kitchen Size and Cabinet Count
Painting kitchen cabinets doesn’t take a few minutes. For that, you need to consider the size of your kitchen and the number of cabinets.
For a small kitchen (less than 100 square feet), expect to spend 20-30 hours. For a medium-sized kitchen (between 100-200 square feet), plan for 30-40 hours.
And for a large kitchen (over 200 square feet), allocate 40-60 hours.
Remember that the number of cabinets also affects the time it takes to complete the project. Painting each cabinet door and drawer front can take 1-2 hours.
Type of Paint and Finishing
The type of paint and finish you choose can affect the time it takes to paint kitchen cabinets. Certain paints and finishes may require more coats or longer drying times.
When selecting paint, choose one specifically designed for cabinets or trim. These paints are more durable and provide better coverage than regular wall paint.
When selecting a finish, consider the level of shine and durability you need.
Prep Work Needed
Proper preparation is crucial for a successful kitchen cabinet painting project. This involves cleaning the cabinets with a degreaser to remove any grime.
You also need to consider sanding them to create a smooth surface to which the paint to adhere. Taking your time with this step is essential to ensure the finished product looks professional.
After cleaning and sanding, remove dust and debris with a tack cloth. Once that is done, apply a primer to help the paint adhere properly.
Skill Level of the Painter
The skill level of the painter affects the time it takes to paint kitchen cabinets.
Beginners may take a month to paint kitchen cabinets as they learn new skills. In comparison, experienced painters can get everything done within a week.
Choosing a simple painting technique that is easy to master, like brushing or rolling, can also save time.
Avoiding more advanced techniques, such as spraying, until you have more experience can also help you achieve a professional-looking finish in less time.
Time Needed for Paint to Dry and Cure
Understanding paint’s drying and curing time is crucial for planning your painting project.
Drying refers to the time it takes for the solvent (water or oil) in the paint to evaporate, leaving behind the pigment and binder on the surface. It should feel dry when you touch it.
The drying time for paint can vary depending on a few factors, such as the type of paint, the surface it’s applied to, and the environment (temperature, humidity, airflow).
Generally speaking, water-based paints (such as latex or acrylic) will dry faster than oil-based paints. A latex paint can usually dry to the touch within an hour or two, while an oil-based paint may take several hours or even overnight.
While curing time refers to the time it takes to harden and reach maximum durability and resistance fully.
But remember, just because the paint is dry to the touch doesn’t mean it’s fully cured. The curing process takes longer and can take anywhere from a few days to a few weeks, depending on the same factors mentioned before.
During this time, it’s important to be gentle with the painted surface and avoid any hard or sharp objects that could scratch or damage it.
So, how can you tell if the paint is fully cured? One way is to do a simple “thumb test”. Press your thumb firmly on an inconspicuous area of the painted surface and then quickly remove it. If the paint doesn’t leave a fingerprint or show any signs of damage, it’s probably fully cured.
It’s essential to wait until the paint is fully cured before using your cabinets or applying a second coat. Rushing the curing process can result in a weaker, less durable finish.
In summary, the drying time for paint can vary depending on the type of paint and the environment, but most paints will be dry to the touch within a few hours.
However, it’s important to allow the paint to fully cure before subjecting it to any wear and tear. This can take several days to several weeks, depending on the same factors mentioned before.
So, be patient and take care of your newly painted surface until it’s fully cured and ready to be enjoyed!
Time Estimates for Painting Kitchen Cabinets
Knowing how long it might take is helpful when planning a project like painting your kitchen cabinets.
Based on these factors, here are some average time estimates for painting kitchen cabinets:
Small Kitchen with Few Cabinets
- Prep work: 1-2 days
- Painting and finishing: 2-3 days
- Drying and curing time: 1-2 days
- Total time: 4-7 days
Medium-Sized Kitchen with Moderate Cabinet Count
- Prep work: 2-3 days
- Painting and finishing: 3-5 days
- Drying and curing time: 2-3 days
- Total time: 7-11 days
Large Kitchen with Many Cabinets
- Prep work: 3-5 days
- Painting and finishing: 5-7 days
- Drying and curing time: 3-4 days
- Total time: 11-16 days
Instruction to Estimate Timeline
Estimating the timeline for painting kitchen cabinets can be challenging, as it depends on various factors, like the size of the kitchen, the number of cabinets, the condition of the cabinets, the type of paint and tools used, and the level of experience of the painter.
However, by following these clear instructions and tips, you can get an accurate estimate of the time it will take to paint your kitchen cabinets:
- Assess the condition of your cabinets: Before you begin painting your cabinets, you need to inspect them carefully to identify any cracks, dents, or other damages that may require repair. You may also need to remove any old paint, grease, or grime from the surface. Depending on the extent of the damage, this step can take a few hours to several days.
- Choose the right paint and tools: To achieve ideal results, it is essential to use high-quality paint and tools. This includes paint brushes, rollers, sandpaper, primer, and paint. Depending on the type of paint and tools you choose, the time required for this step can range from 3-4 hours.
- Remove the cabinet doors and hardware: Before you begin painting, you must remove the cabinet doors and hardware, such as handles, knobs, and hinges. This step can take 5-6 hours. Depending on the number of cabinets and the complexity of the hardware, it may take longer than that.
- Sand and prime the cabinets: Sanding and priming are essential steps to ensure that the paint adheres properly to the surface and lasts longer. Depending on the size and condition of the cabinets, this step can take an entire day.
- Paint the cabinets: Once the primer you applied has dried, you can start painting the cabinets. Depending on the number of coats required and the size of the cabinets, this step can take a day or two.
- Reinstall the cabinet doors and hardware: After the paint has dried, you can reinstall the cabinet doors and hardware. This step can take a few hours, depending on the number of cabinets and the complexity of the hardware.
The Step-by-Step Process for Painting Kitchen Cabinets
The painting process for kitchen cabinets involves cleaning, sanding, priming, and applying at least two coats of paint.
Each step is essential; rushing through any step can result in a less-than-perfect finish. It’s crucial to use high-quality supplies and allow sufficient time for each coat to dry and cure.
Following the painting process carefully can help you achieve an efficient and successful paint job.
Supplies Needed
Here are all the supplies that you need:
- Paint of your choice (latex, oil-based, or specialized cabinet paint)
- Brushes (2-3 inches angled brush and a small detail brush)
- Rollers
- Sandpaper
- Painters tape
- Drop cloths or plastic sheeting
- Cleaning supplies
-
Screwdriver or drill (for removing hardware)
Preparation
Proper preparation is crucial before painting cabinets to ensure a smooth and long-lasting finish. This involves cleaning the cabinets to remove dirt or grease and removing hardware.
Other than that sanding the surfaces is important to make a rough surface for the paint to adhere to. Skipping any of these steps can lead to a poor finish that won’t last.
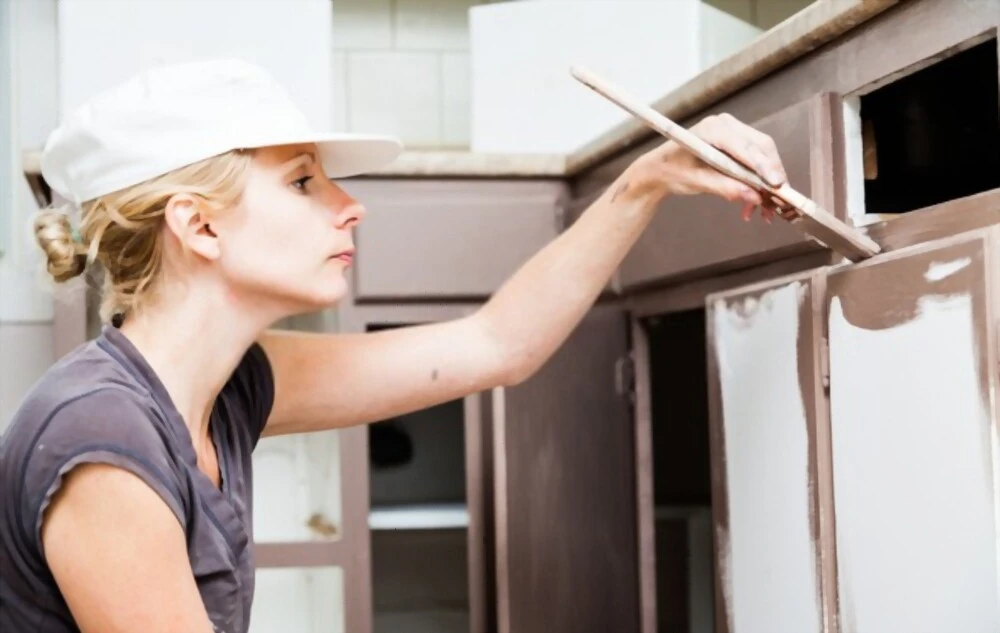
Priming and Painting
Priming and painting are crucial steps in achieving a successful cabinet paint job. Using a suitable primer creates a smooth surface and seals it for better adhesion.
Choose high-quality primer and paint for a long-lasting finish. Use thin, even coats, and pay attention to corners and edges when applying.
Finishing and Reassembly
A protective topcoat is necessary for painted kitchen cabinets to ensure durability and resist scratches, stains, and moisture. Choose a topcoat that matches the paint type and provides the needed level of durability.
Use a high-quality brush or sprayer to apply the topcoat in thin, even coats. Follow the manufacturer’s instructions for drying time and re-coating.
To reassemble the cabinets, replace shelves and drawers, reattach the doors to their hinges, tighten screws, and reinstall the hardware using a screwdriver.
Conclusion
Painting kitchen cabinets can be a time-consuming project. Still, it can be a rewarding and cost-effective way to refresh your kitchen.
Proper preparation, planning, and tools are key to achieving a professional-looking finish. Take your time to clean, sand, and prime the cabinets before applying high-quality paint and primer.
Use a high-quality brush or roller for smooth and even application. Apply the paint in thin coats, allowing each coat to dry completely.
Consider adding a protective topcoat for durability and resistance to scratches, stains, and moisture. When reassembling the cabinets, ensure everything is properly aligned and tightened.
Remember not to rush the process and enjoy a fresh, new look for years to come.