
How to paint enamel cabinets: Prep the cabinets, apply primer, and then apply thin coats of enamel paint, allowing each coat to dry before applying the next.
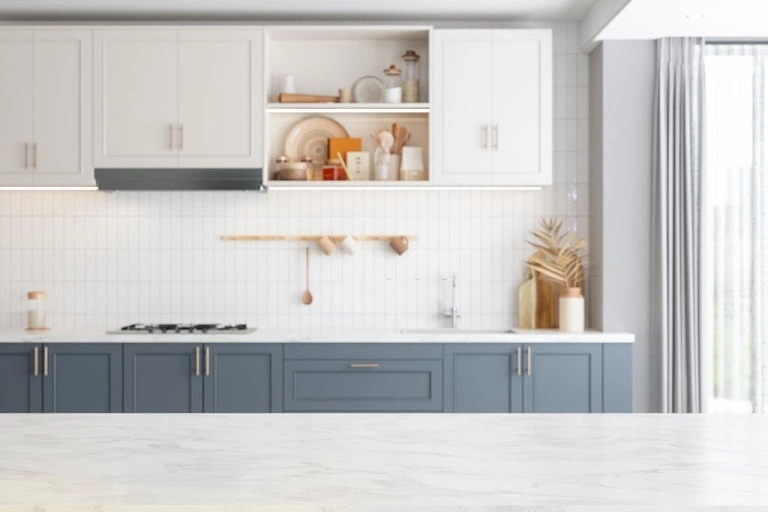
Enamel paint is the go-to choice for kitchen cabinets due to its durability, easy-to-clean surface, and professional finish.
With some patience, attention to detail, and the right techniques, you can transform your cabinets into a beautiful focal point in your kitchen.
In this guide, I’ll share my experiences and expertise on painting cabinets with enamel paint, providing you with valuable tips and real-life examples to help you achieve a professional finish without the professional price tag.
Gather Materials
- Enamel paint suitable for cabinets
- Paint primer
- Sandpaper (medium-grit)
- Wood filler (if needed for repairing holes or dents)
- Painter’s tape
- Plastic sheeting or drop cloths
- High-quality brushes (synthetic bristle)
- Smooth-surface mini roller
- Masking tape and marker (for labeling cabinet components)
- Damp cloth (for wiping off dust)
- Protective coverings for countertops and appliances
- Cabinet hardware (screws, handles, knobs, etc.) for reinstallation or replacement
- Optional: deglosser (if not sanding cabinets)
- Optional: paint sprayer (for a smoother finish, requires additional preparation)
Preparing the Cabinets
Empty and Clean the Cabinets
Before starting any painting project, it’s essential to prepare the surfaces properly. I always begin by removing all items from the cabinets and giving them a thorough cleaning.
This step not only helps me see any imperfections that need attention but also ensures that my paint job will be free of dirt and debris. To protect countertops and appliances from paint splatters, I cover them with plastic sheeting or drop cloths.
Disassemble Cabinet Components
Next, I remove the cabinet doors, drawers, and hardware. This makes it much easier to paint each component evenly and without making a mess. To avoid confusion during reassembly, I label each part with masking tape and a marker.
Sanding and Repairing the Cabinets
Sanding is a crucial step in the process, especially if the cabinets have a glossy finish. Sanding helps the enamel paint adhere better, creating a more durable result.
I typically use a medium-grit sandpaper to remove the gloss and create a slightly rough surface for the paint to grip. If there are any holes or dents, I fill them with wood filler and sand them smooth. After sanding, I make sure to wipe off any excess dust with a damp cloth.
Priming the Cabinets
Choose the Right Primer
Based on my experience, using a primer is essential for a professional-looking finish. It not only helps the enamel paint adhere better but also provides a more even color.
When choosing a primer, I make sure it’s compatible with my chosen enamel paint. I’ve had great results with Kilz primer, but any high-quality primer designed for cabinets should work well.
Applying Primer
When applying primer, I use a high-quality brush for the edges and a roller for the larger surfaces. It’s essential to apply the primer evenly and follow the wood grain for a smooth finish. After the primer is completely dry, I lightly sand the surfaces again to ensure an even smoother finish.
How to Paint the Cabinets with Enamel Paint
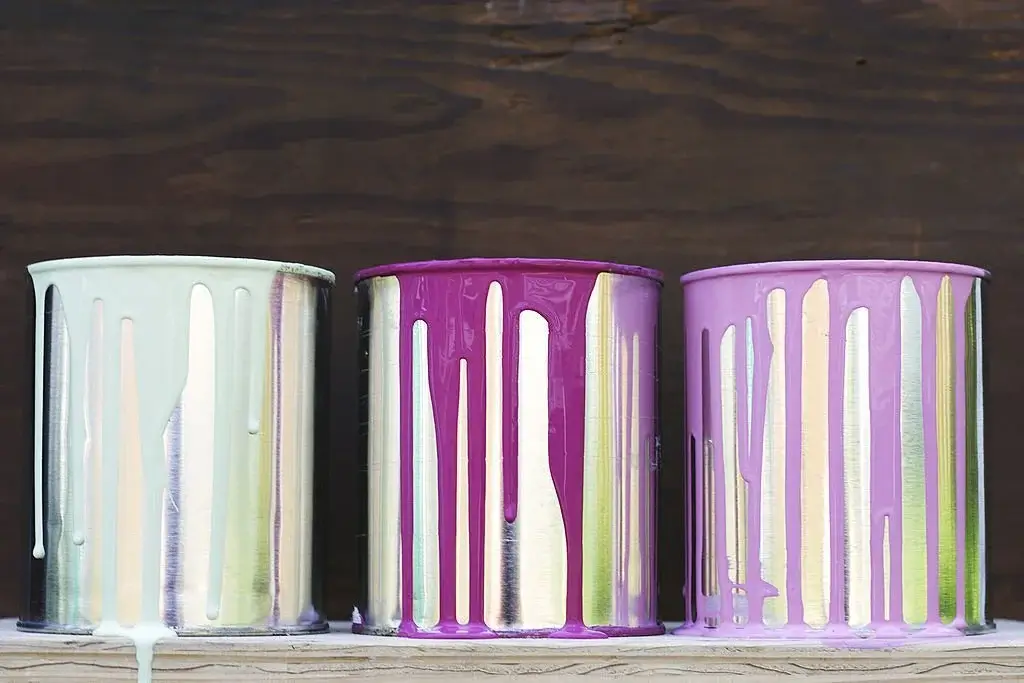
Choose the Right Enamel Paint
One of the most important aspects of a successful cabinet painting project is selecting the right enamel paint. High-quality cabinet enamel paint, such as Valspar Cabinet Enamel, is specifically designed for cabinets, providing durability and easy application.
There are two main types of enamel paint to consider: oil-based and water-based.
Oil-based paints tend to be more durable, but they have a stronger odor and longer drying time.
Water-based paints, also known as acrylic or latex paints, have lower VOCs (volatile organic compounds) and are easier to clean up, making them a popular choice for DIY home improvement projects.
In my experience, both types can produce excellent results when applied correctly.
When choosing the finish, consider your personal preference and the style of your kitchen. Glossy finishes are more reflective and can create a more dramatic look, while satin or semi-gloss finishes have a softer sheen and are easier to maintain.
See More: Is Emerald Paint Good for Cabinets? (Explained & Review)
Application Techniques for a Professional Finish
A professional finish is achievable by using the right application techniques for your enamel paint. In my experience, the key to success is maintaining a consistent approach throughout the process.
Brush Technique
Using a high-quality brush is essential for achieving a smooth application. I prefer brushes with synthetic bristles, as they maintain their shape and provide a more even paint distribution.
When painting cabinets, I apply thin coats, focusing on maintaining even brush strokes. This minimizes brush marks and helps the paint level out as it dries. Pay special attention to edges and corners, using the tip of the brush to push the paint into tight spaces.
Roller Technique
For larger areas, I utilize a smooth-surface mini roller, which allows for quicker coverage and a more consistent finish. When using a roller, it’s essential to follow the wood grain while applying paint, as this helps the paint blend seamlessly into the surface.
While using a roller, I make sure to maintain even coverage and texture. It’s important to avoid pressing too hard on the roller, as this can cause the paint to become too thin and create uneven spots.
Drying and Adding Additional Coats
Patience is key when painting cabinets with enamel paint. Allowing each coat to dry completely before applying the next is crucial to achieving a professional finish. Drying time can vary depending on the paint type, humidity, and temperature, so be sure to follow the manufacturer’s recommendations.
Between coats, I carefully inspect the cabinets for any imperfections or uneven areas. If necessary, I sand these spots lightly and wipe away any dust before applying the next coat.
Multiple coats are often necessary for a smooth, durable finish. The number of coats required will depend on the color and type of paint, as well as the condition of the cabinets. In my experience, two to three coats are typically sufficient, but additional coats may be needed for darker colors or to cover any remaining imperfections.
Reassembling the Cabinets and Adding Finishing Touches
Reinstalling Cabinet Hardware
Once the paint is completely dry, it’s time to reassemble the cabinets. I carefully reinstall the cabinet doors, drawers, and hardware, using the labels I created during disassembly to ensure everything is correctly positioned.
If desired, this is an excellent opportunity to update your cabinet hardware, such as pulls and hinges, for a fresh new look. In my experience, replacing outdated hardware can make a significant impact on the overall appearance of the cabinets.
Finishing Touches
To complete the project, I clean up my workspace and remove any remaining protective coverings from countertops and appliances. Finally, I step back and admire the beautifully transformed cabinets that have been given a professional finish with enamel paint.
Frequently Asked Questions
How can I minimize brush marks when painting cabinets with enamel paint?
Minimizing brush marks is essential for a professional finish. Here are some tips to help reduce brush marks:
- Use a high-quality, synthetic bristle brush for smoother application.
- Apply thin, even coats of paint.
- Maintain consistent brush strokes, following the wood grain.
- Allow each coat to dry completely before applying the next.
Can I paint over existing painted cabinets without sanding them first?
While it’s possible to paint over existing paint without sanding, doing so may result in a less durable finish. Sanding removes the gloss and creates a slightly rough surface for the new paint to adhere to, improving adhesion and durability. If you prefer not to sand, using a deglosser can help improve adhesion, but it’s not as effective as sanding.
How long does it take for enamel paint to fully cure?
While the drying time for enamel paint varies depending on factors such as humidity, temperature, and paint type, it generally takes about 24 hours for the paint to be dry to the touch. However, full curing can take up to 30 days. To ensure the best results, avoid using the cabinets or applying any heavy pressure until the paint has fully cured.
Can I use a paint sprayer to apply enamel paint to my cabinets?
Yes, using a paint sprayer can be an effective way to apply enamel paint to cabinets. A paint sprayer can provide a smooth, even finish with minimal brush marks. However, using a paint sprayer requires additional preparation, such as masking off surrounding areas to protect them from overspray, and can be more challenging for beginners. If you choose to use a paint sprayer, be sure to follow the manufacturer’s instructions and practice on a scrap piece of wood to get comfortable with the spraying technique before tackling your cabinets.
Conclusion
In conclusion, painting your cabinets with enamel paint is an effective way to give your kitchen a fresh, updated look without breaking the bank. By following the proper preparation and application techniques, you can achieve a professional finish that will last for years to come.
As a pro painter for kitchen cabinets, I can confidently say that the key to success is patience, attention to detail, and using high-quality materials. With a bit of effort and dedication, your kitchen can be transformed into a beautiful, inviting space that reflects your personal style and taste. Happy painting!