
To paint over varnished cabinets, start by thoroughly cleaning and sanding the surface. Apply a high-quality primer and let it dry completely, then apply two coats of paint with a brush or roller. Remember to follow safety precautions when working with paint and primer, and use high-quality products specifically made for cabinets.
Are you a beginner in DIY home projects and looking to give your kitchen a new look?
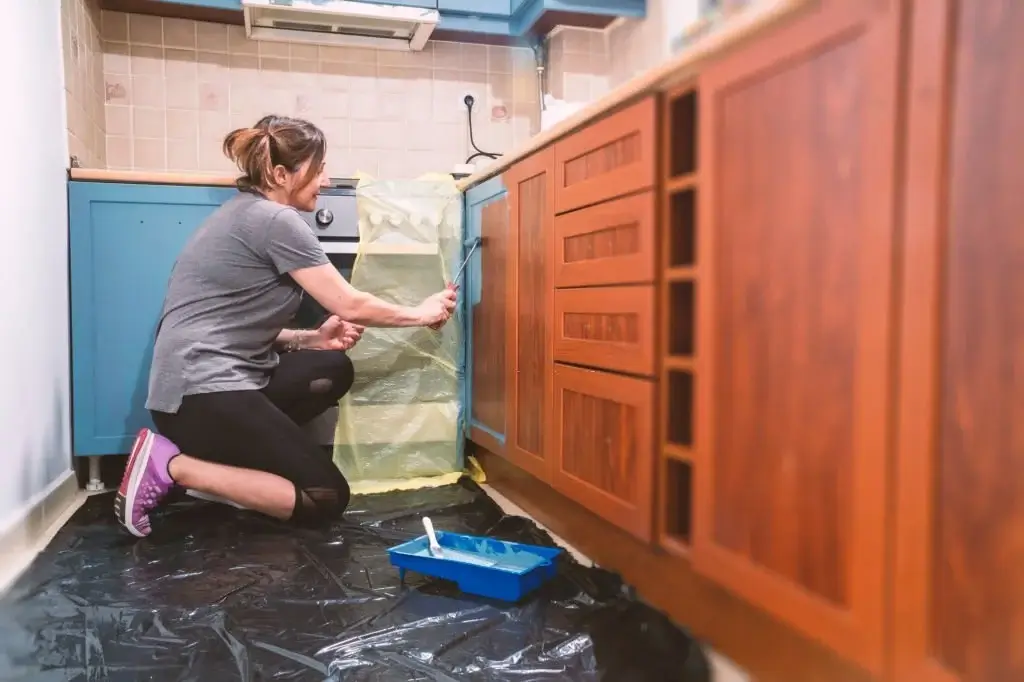
Painting kitchen cabinets is a great place to start! Not only is it a cost-effective way to refresh your kitchen, but it can also be a fun and rewarding project.
In this article, we’ll provide a detailed guide on how to paint over varnished kitchen cabinets, specifically for beginners.
Can You Paint Varnished Cabinets Without Sanding?
The short answer is yes, but we recommend sanding as it provides a better surface for the primer and paint to adhere to.
However, if you’re short on time or don’t want to sand, you can use a deglosser to remove the varnish shine and roughen up the surface.
Keep in mind that the cabinets will need to be thoroughly cleaned and any imperfections should be filled with wood filler before painting.
How to Paint Over Varnished Cabinets
Now, let’s get into the step-by-step process of painting varnished cabinets:
Tools and Materials Needed
- Screwdriver
- Sandpaper (100 and 220 grit)
- Tack cloth
- Wood filler
- Putty knife
- Primer
- Paint (oil-based or water-based)
- Paintbrushes
- Paint roller and tray
1. Preparation
- Remove all hardware from the cabinets and label them for easy reassembly.
- Clean the cabinets with warm, soapy water and a sponge to remove any dirt and grime. Rinse thoroughly and let dry.
- Fill any imperfections with wood filler and sand smooth.
- Sand the cabinets with 120-grit sandpaper to roughen up the surface and create a better bond for the primer. Wipe away any dust with a damp cloth.
2. Primer
- Apply a coat of primer using a brush or roller. We recommend using a high-quality primer specifically made for cabinets, such as Zinsser Bulls Eye 1-2-3. Allow the primer to dry completely, typically 1-2 hours.
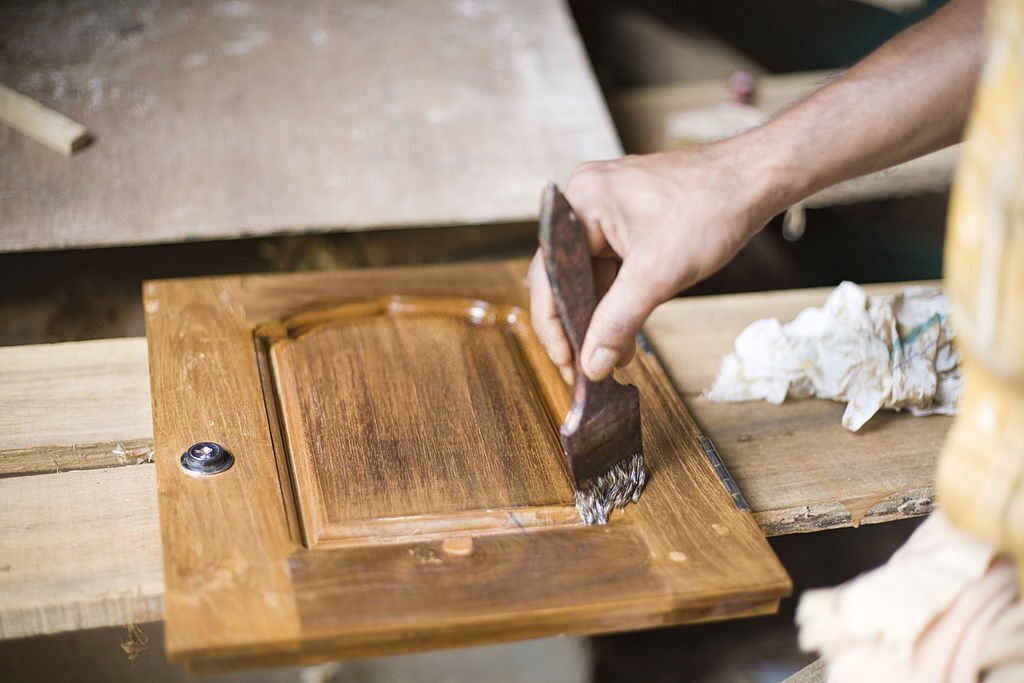
3. Paint
- Apply a coat of paint using a brush or roller. We recommend using a high-quality paint specifically made for cabinets, such as Benjamin Moore Advance or Sherwin-Williams ProClassic. Allow the first coat to dry completely, typically 4-6 hours.
- Lightly sand the surface with 220-grit sandpaper to smooth out any imperfections and remove brush strokes. Wipe away any dust with a damp cloth.
- Apply a second coat of paint and allow it to dry completely, typically 4-6 hours.
4. Finishing Touches
- Reattach the hardware to the cabinets.
- If desired, apply a clear coat or glaze for added durability and shine.
And that’s it! With a little time and patience, you can give your kitchen a new look by painting varnished cabinets. Remember to always follow safety precautions, such as wearing gloves and a mask when working with paint and primer. Good luck on your DIY journey!
Common Mistakes to Avoid
- Rushing the preparation process: Proper preparation is essential to ensure that the paint adheres correctly to the cabinets. Don’t skip any steps or rush through sanding and cleaning.
- Not using the right paint: Using the wrong type of paint can result in peeling or chipping, especially if you’re using oil-based paint on cabinets that have previously been painted with water-based paint. Choose a high-quality paint that’s specifically formulated for cabinets.
- Skipping the primer: While it may be tempting to skip the primer and go straight to painting, this is a mistake that can lead to an uneven finish and peeling over time. Always use primer before painting.
- Not allowing the paint to dry completely: Rushing through the painting process and not allowing each coat of paint to dry completely can result in a tacky finish and uneven color.
Answering Common Questions
When it comes to painting kitchen cabinets, there are a few common questions that beginners often have. Here are some answers to those questions:
1. Do I need to remove the varnish before painting?
While it’s not necessary to remove the varnish, it’s recommended to sand or degloss the surface to provide a better bond for the primer and paint. If the varnish is flaking or damaged, it should be removed and the surface sanded and cleaned before priming and painting.
2. Should I use a roller or brush to paint the cabinets?
Both options are viable, but a brush may provide better coverage and control, especially in tight areas. A foam roller can be used for larger, flat surfaces. Whichever method you choose, make sure to use a high-quality brush or roller to avoid leaving brush marks or lint behind.
3. What is the best paint for covering varnished cabinets?
A high-quality paint specifically made for cabinets, such as Benjamin Moore Advance or Sherwin-Williams ProClassic, is recommended for the best results. These paints are durable, self-leveling, and provide a smooth finish.
Removing Varnish from Cabinets
If you do need to remove the varnish from your cabinets, here are some steps to follow:
- Use a paint scraper or putty knife to remove any loose or flaking varnish.
- Apply a varnish remover or stripper to the surface with a brush or roller, following the manufacturer’s instructions.
- Allow the varnish remover to sit for the recommended time, typically 15-30 minutes.
- Use a scraper or steel wool to remove the varnish, wiping away any residue with a cloth.
- Sand the surface with 120-grit sandpaper to smooth out any imperfections and provide a better surface for the primer and paint.
Conclusion
Painting over varnished cabinets is a great DIY project for beginners looking to update their kitchen on a budget. With a little preparation and patience, you can achieve professional-looking results. Remember to choose high-quality products, properly prepare the surface, and follow safety precautions when working with paint and primer. Good luck and have fun transforming your kitchen!